7 Tips for DIY Fence Weekend Warriors
Spring is the time to plan your fence fix or replacement. These 7 Tips will help you do it right the first time and build a fence that looks great and is built to last:
1. Plan your Job
- Complete District of Mackenzie “Residential Fence Acknowledgement” form available at the Public Works office. Talk to Pat or Ken.
- Strongly recommend you Click or Call BC 1 Call before you dig and make sure no electrical, gas, or other municipal utilities are in the way.
- What is the design of your fence? A great idea resource is Pinterest. Warning! This site has hundreds of ideas so give yourself time to explore.
- Know your property lines.
- Do you need to discuss with your neighbors for cost sharing?
2. Prepare a Budget
Fences can be costly depending on the type and length. Once you have determined the look you want, it is time to develop your budget and make sure you have your costs covered. Consider:
- Post hole digging – DIY or hire a Bobcat with a hole auger (highly recommended time saver).
- Do you have reusable boards/posts or are you going all new?
- Wood or metal posts?
- Type of fence panels – Metal or tin vs wood, premade cedar panels or DIY panels?
- Drain rock, cement, or other post hole fillers.
- Metal fasteners, hangers, screws, nails, and gate hardware.
- Paint or Stain?
- DIY weekend warriors or hiring a contractor.
- Required equipment rentals or purchases.
- Do not forget the taxes as 12% quickly adds up!
3. Prepare your Site
Once you have cleared out the old fence, you need to remove other obstacles and clear the ground area to stage for construction and personal safety while working.
- Plan where you will store your lumber, posts, and drain rock for easy access yet out of the way for the post hole digging and placement activities – avoid moving materials multiple times.
- Watch the weather forecast and avoid digging post holes when rain is in the forecast. You do not want your holes to sluff in before you get a chance to put your posts and filler in.
- Carefully measure and mark the placement of post holes considering the length of your fence panels between posts as well as other obstacles, site slope, and drainage. Check out links provided under Do it Right the First Time.
4. Do it Right the First Time
There are hundreds of DIY videos on YouTube for building a fence. If this is your first time building a fence, we recommend you watch one or two related to the type of fence you are building to know what you are up against and to ensure you do it right the first time.
Below is a small sampling of DIY links available on fencing.
- DIY Fence on a Budget! – YouTube
- How to Build a Fence: 5 Tips for Building a DIY Fence – 2023 – MasterClass
- How-To Home Improvement | Building A Wood Fence | Beginner’s DIY Checklist | MyFixitUpLife
- How to Install a Corrugated Metal Privacy Fence | Hunkernce Building: Must-Know Things for DIY Project | ArticleCube
We also recommend fencing panels between six to eight feet for strength and wind resistance.
At Victory ACE we have an excellent sample of panels made of wood & tin. They are cost effective, long lasting and have several color options available. Drop by our store and we will be happy to show you how great it looks and how easy it is to build.
5. Using Treated vs. Untreated Lumber
Untreated lumber is all natural wood. Treated lumber is immersed in liquid wood preservatives to help resist moisture, rot, and insects. The difference between these two types is outdoor durability and health concerns related to the handling of treated lumber.

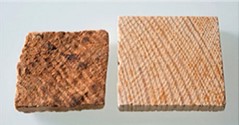
Untreated / Treated
Treated lumber and posts are construction materials for outdoor projects such as decks, arbors, and fences. Carpenters recommend pressure treated wood for projects where there’s direct contact between the wood and moisture.
6. Post Holes and Filler Options
For our Mackenzie winters, we recommend a minimum four (4) foot deep post hole at least three times the diameter of your post – A four (4) inch post should have a four (4) foot x one foot (12”) diameter hole.
You do not have to use cement in your post holes, but when done correctly, cement will stabilize the post and prevent it from shifting over time. If you choose to use cement, you will need to mix it according to the manufacturer’s instructions and pour it into the hole around the post. If you do not use cement, you can simply fill the hole with soil or gravel and tamp it down firmly around the post.
If your soil has clay in it, water will just sit in the hole. Adding gravel will not prevent water from getting right at the post resulting in faster rot. Using concrete prevents water from getting to the post and helps the post last longer. You will want to also make a dome of concrete above soil level and make sure it is smooth and tight against the post to prevent water seepage.
These next two links help answer questions around the use of concrete.
“Concrete for Fence Post Holes – To Mix or Not to Mix?” – Iron Fence Shop Blog
How Much Concrete Per Fence Post? — Bob Vila
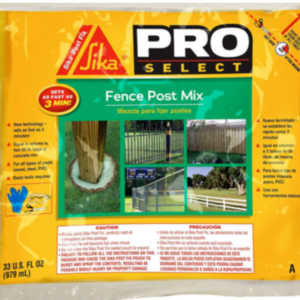
At Victory ACE we also carry a concrete replacement product “Sika Post Fix” which replaces up to two (2) bags of concrete. Although the cost is higher than using concrete, it is a great option if you do not want to deal with the mess and work of pouring concrete into your post holes.
To better understand the pros and cons of using Sika Post Fix, check out these next two links:
Sika postfix pros and cons – A Good Garden, and
Expanding Foam vs. Concrete Fence Post: Which Is Better? – Upgraded Home.
As you will see, Sika Post Fix is a good option to consider and explore further.
Sylvain and Marilyn used Sika Post Fix on their latest fencing project and have been incredibly pleased with how easy it was to do and their end result – a nice solid and secure fence.
Staining your Fence
Paint or Stain? If you paint your fence with a solid water based paint it will peel sooner than you want and will require frequent maintenance to keep it looking good.
At Victory Ace we strongly recommend using our Benjamin Moore “ARBORCOAT” oil based Translucent or Semi-Transparent Stain for minimal maintenance and a long-lasting beautiful fence.
There are lots tinting options available with color samples for these two recommended products.
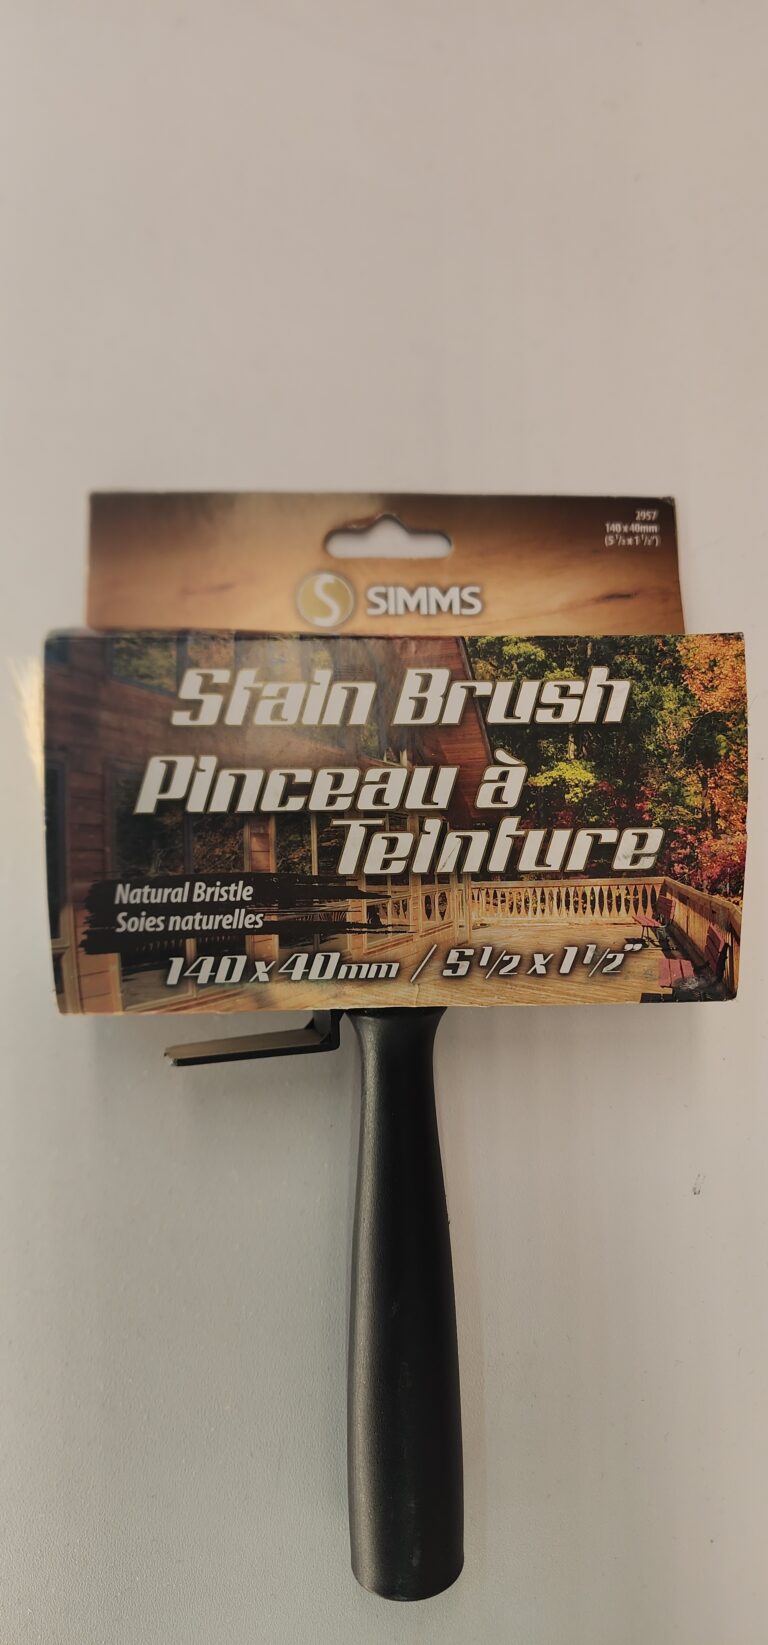
We also strongly recommend you use a stain brush and not a roller. Using a stain brush helps the stain penetrate deeply into the wood for maximum protection against the elements.
Also check out this link on How Long to Wait Before Staining a Pressure Treated Wood Fence (backyardscape.com)

At Victory ACE we are the helpful place and will assist you to get your fencing project underway!